

How to Choose the Right Telescopic Camera Pole
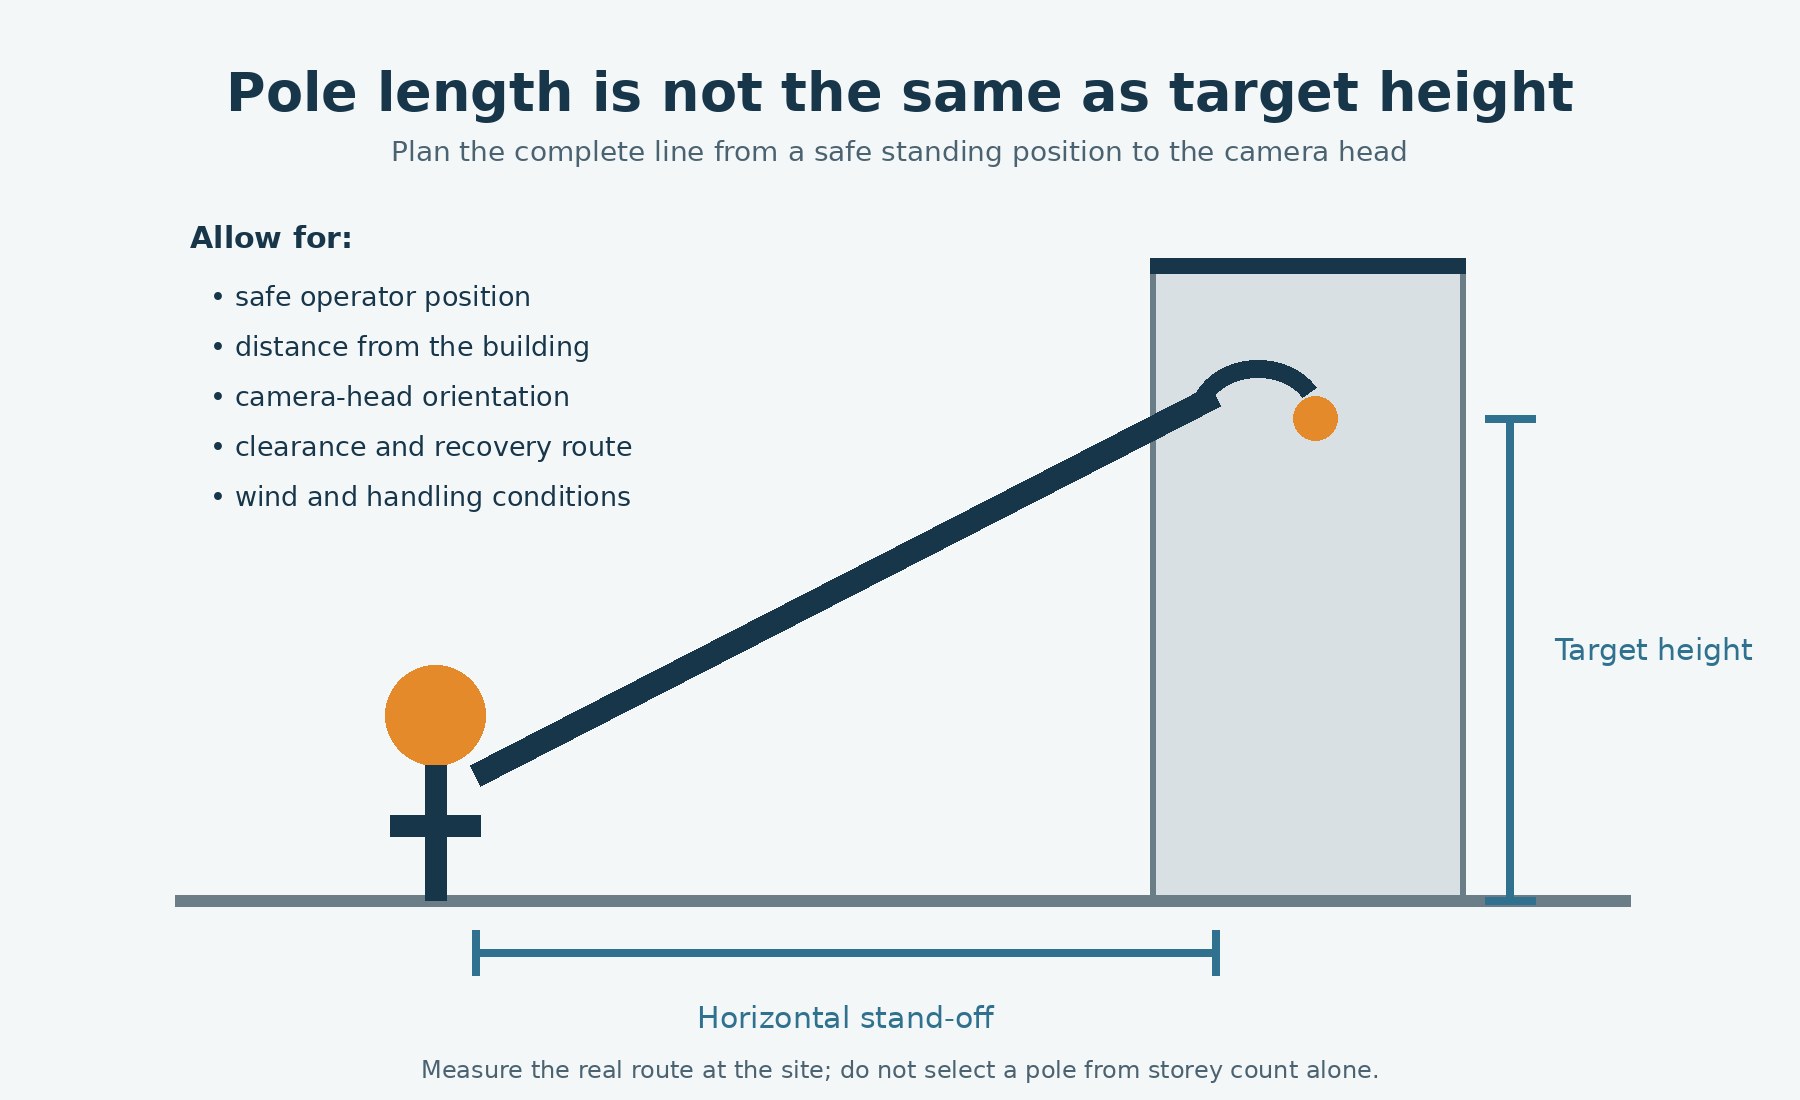
Choosing a telescopic inspection camera by its maximum pole length alone is an easy mistake. A target may be six metres above the ground, yet a nominal six-metre pole may not place the camera where it needs to be. The operator has to stand back from the building, hold the pole at an angle and position the camera head beyond an edge or around an obstruction.
The useful question is therefore not “How tall is the building?” but “What route must the camera travel from a safe standing position to a useful viewing position?” This guide explains how to assess that route for gutters, roofs, façades, overhead services and other high-level assets.
Why maximum pole length and working reach differ
Published pole length describes the extended equipment, not the height of every target it can inspect. Working reach changes with the height of the operator’s hands, the angle of the pole, the horizontal stand-off from the structure and the position of the camera head.
A pole held vertically may approach its greatest height, but it offers little horizontal offset. Moving away from the wall gives a better viewing angle, while also reducing the vertical height achieved by the same pole. The short gooseneck at the camera head can help orient the lens, but it should not be treated as extra structural reach.
Allow a margin rather than planning to use every section at its absolute limit. A slightly longer pole, operated with fewer sections extended, can sometimes feel more controlled than a shorter pole used at full extension. Actual handling depends on equipment, conditions and operator technique.
Measure the inspection route before selecting a pole
Start at the intended standing position. Confirm that the surface is level, clear and suitable for controlled operation. Measure or estimate the vertical height of the target and the horizontal distance needed to stand clear of walls, parked vehicles, landscaping, traffic routes and other obstructions.
Then consider where the camera lens must be. Looking into an open gutter is different from viewing its front face. Seeing the top of a parapet, the rear of a sign or the upper surface of a beam may require the head to travel beyond the nearest edge. Record both the route to the target and the angle needed for a useful picture.
For repeat work, include a simple sketch in the survey notes. Mark the standing point, target, obstructions and likely pole angle. This gives the buyer or equipment adviser something more useful than a building-storey description.
Choosing between 3.5m, 5m and 8m TEL-WP23 options
The live UK Inspection Camera TEL-WP23 page lists extended-height options of 3.5 metres, 5 metres and 8 metres. Treat these as model-specific configurations rather than universal recommendations.
A 3.5m option can suit localised overhead or low façade work where the operator can stand close to the target. A 5m option adds flexibility for higher gutters, equipment and building elements. An 8m option is intended for more demanding high-level routes, although the extra extension increases the importance of stance, clearance, wind conditions and controlled handling.
Choose the shortest configuration that comfortably reaches the real camera position with a sensible margin. Buying excessive reach can add handling demands; buying too little may encourage unsafe overreaching or an unusable camera angle. Confirm the chosen variant and its current specification before ordering.
Camera control matters as much as length
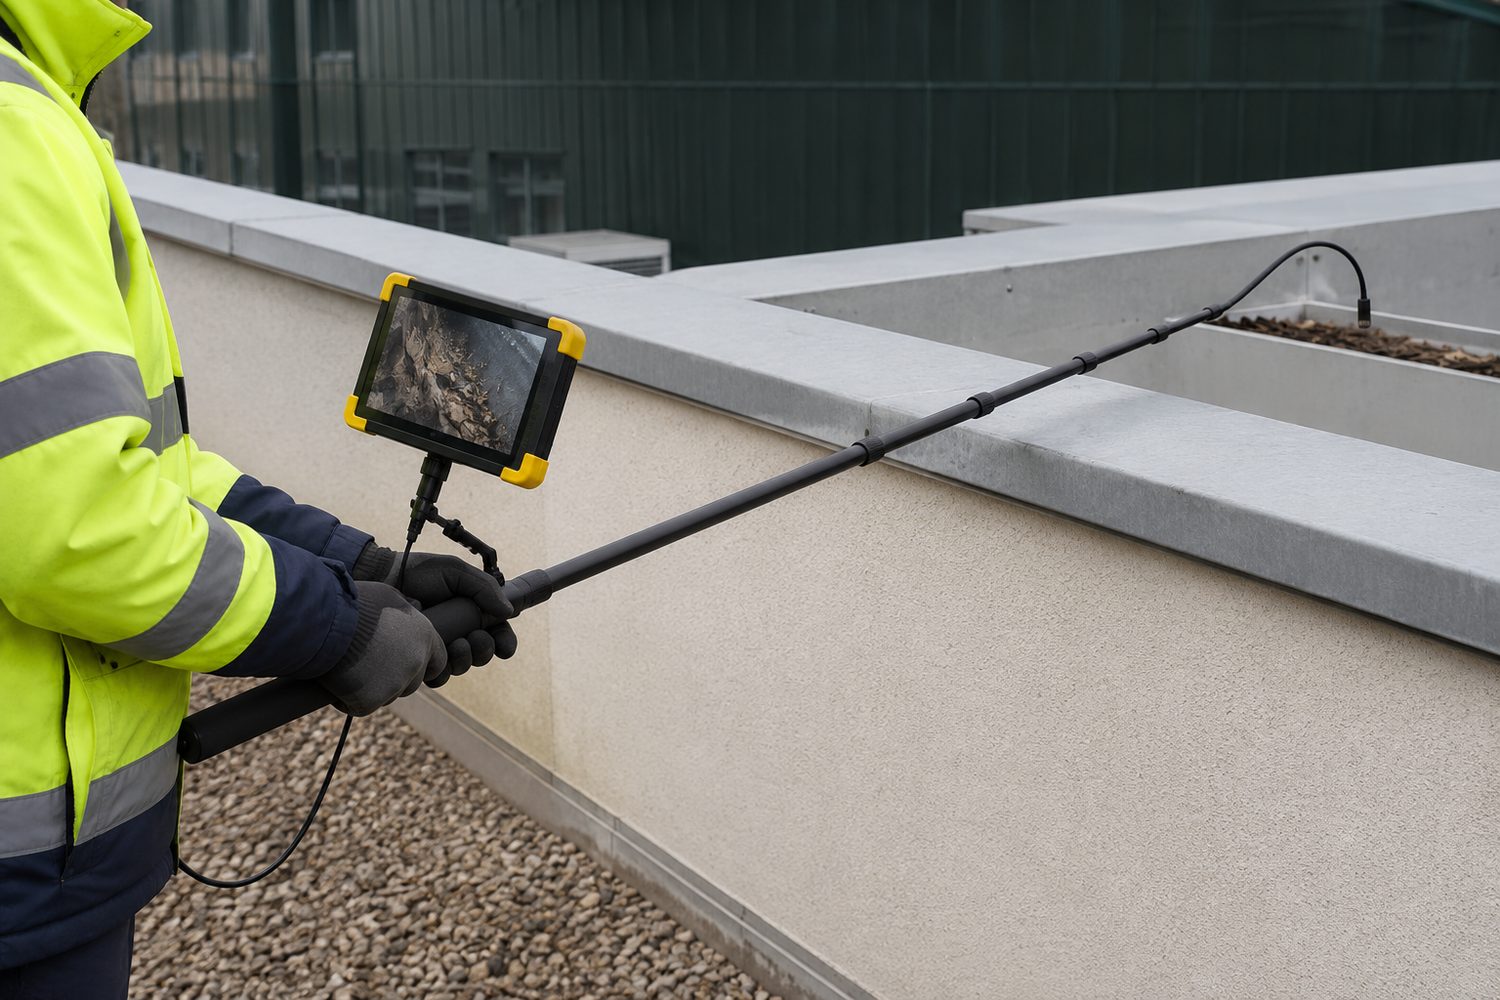
At greater extension, small movements at the handle become larger movements at the camera head. Use deliberate adjustments and pause long enough for the image to settle. If the inspection needs a close view of a joint or fitting, approach it slowly rather than trying to steer quickly from the ground.
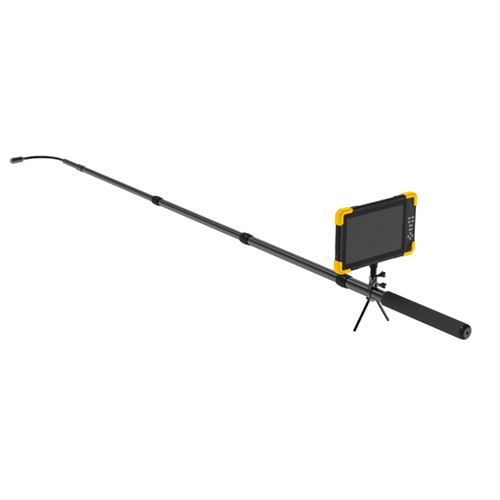
The TEL-WP23 product page specifies a carbon-fibre telescopic pole, a 23mm waterproof camera and a choice of 7-inch or 10.1-inch monitor. It also lists recording options. These features can help with positioning and evidence capture, but they do not remove the need to plan the route and inspect in suitable conditions.
Begin with a contextual view so the location is clear, then move closer for detail. Record a logical sequence and make written notes that identify the asset and inspection point. Avoid relying on an invented or unverified reading on the monitor.
Where a telescopic pole camera adds value
For gutter inspections, the camera can provide an initial view of debris, joints, outlets and visible damage before deciding whether access or cleaning work is required. Keep the head clear of overhead cables and avoid forcing it into material that could snag the gooseneck.
For façades and roof edges, a surface view can help identify areas requiring closer specialist investigation. A camera image cannot prove that a roof, fixing or structural component is sound. It is visual evidence, not a structural test.
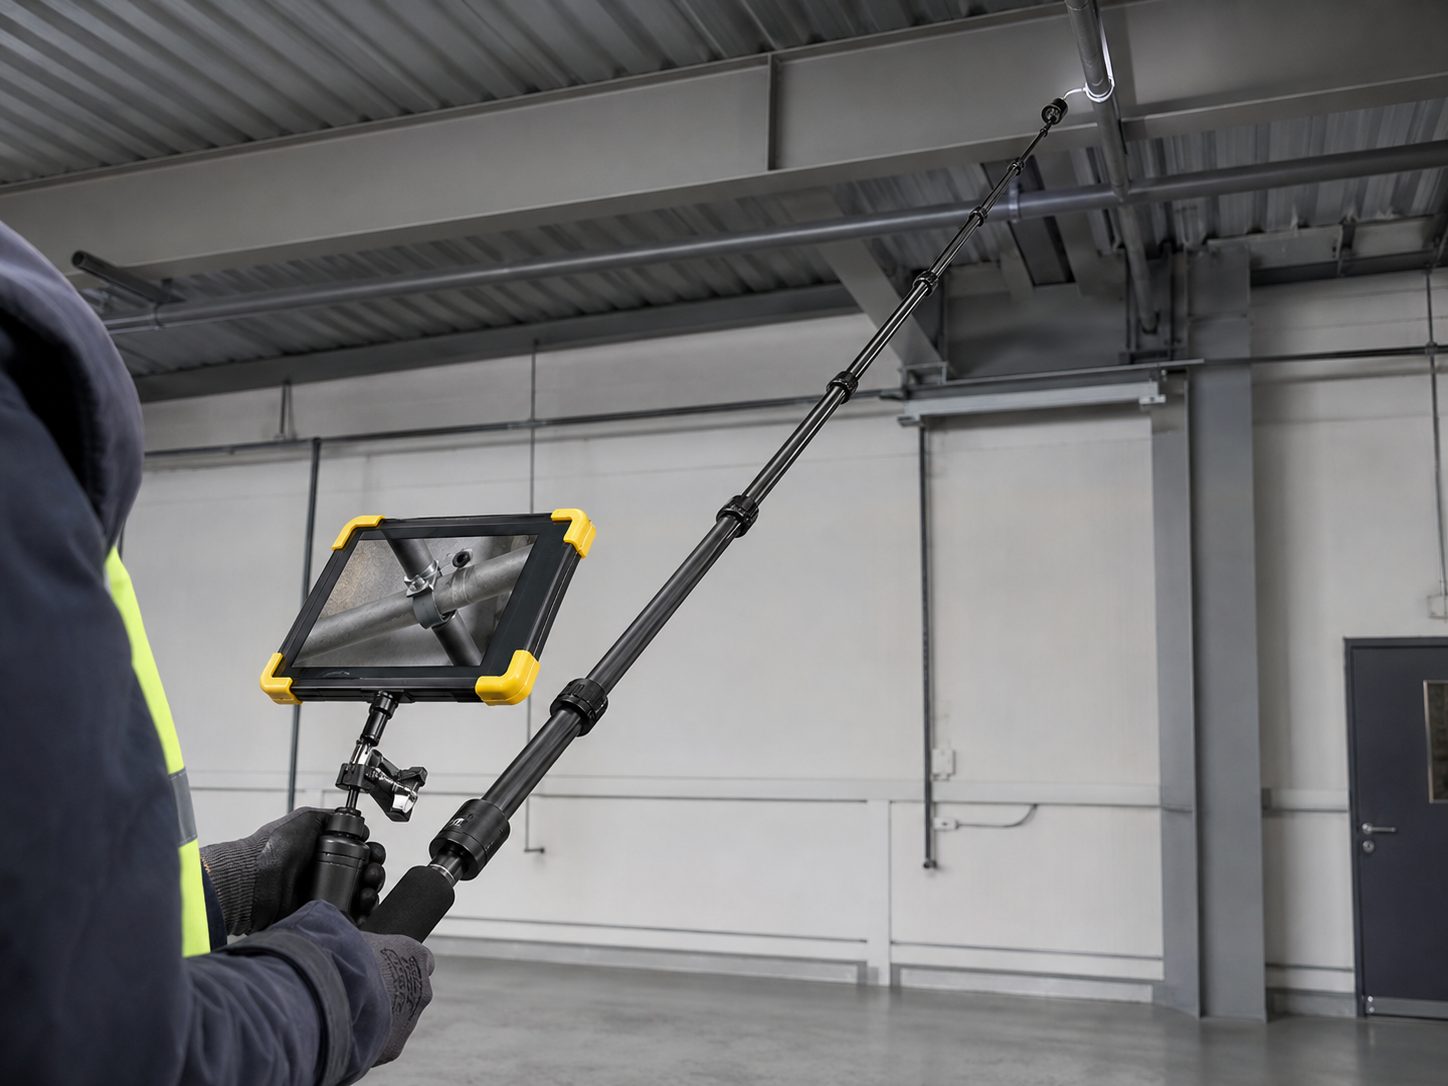
Inside industrial buildings, a pole camera can view overhead pipe supports, beams, ducting and inaccessible plant from a planned floor position. Establish an exclusion zone so other people do not walk beneath the pole or inspection point.
Check clearance, wind and the recovery route
Survey the entire movement envelope before extending the pole. Check overhead services, vehicle routes, doors, machinery and neighbouring property. Keep the camera and pole away from live electrical equipment unless the equipment and method have been specifically assessed for that task. Do not assume a carbon-fibre pole is electrically safe.
Wind can make a long pole harder to control and may cause the camera to strike the building. Stop if conditions prevent stable positioning. Extend and collapse sections in a controlled order, keep clamps clean and follow the product instructions.
Plan recovery before deployment. The gooseneck and camera head must return past ledges, branches, cable trays and gutter brackets without catching. Never pull forcefully against an unseen obstruction.
A camera pole supports inspection planning; it does not replace safe access
A pole camera can gather information from the surface and may help teams decide whether closer access is necessary. It does not make roof work safe, authorise entry into a restricted area or replace competent assessment.
The Health and Safety Executive says roof work must be organised and planned so it is carried out safely, and identifies roof edges, openings and fragile surfaces as key hazards. If the job proceeds to physical access or repair, use the appropriate access method, trained people and site controls.
Treat the camera inspection as one part of the decision process: identify visible conditions, record limitations and escalate anything safety-critical to the appropriate competent person.
Telescopic camera-pole selection checklist
Before choosing a configuration, confirm:
- The target height and exact viewing point.
- The horizontal stand-off from the structure.
- The required viewing angle and head orientation.
- Overhead services and other obstructions.
- A level, protected operator position.
- Wind exposure and indoor or outdoor conditions.
- The monitor and recording requirement.
- The extension margin needed for controlled use.
- The route for safe camera recovery.
- Any finding that will require specialist follow-up.
Discuss the route, not just the pole length
UK Inspection Camera supplies telescopic video inspection systems for high-level and difficult-to-view applications. When asking for advice, provide the target height, stand-off, building or asset type, viewing angle, site conditions and recording requirement.
View the TEL-WP23 telescopic pole inspection camera, browse the telescopic video inspection camera range or speak to the UK Inspection Camera team on 01522 704505.
Telescopic Carbon Fibre Pole Inspection Camera with 4KMonitor
Starting from £1000
The 7 or 10 Inch 4K Telescopic Carbon Fibre Pole Inspection Camera System is a professional elevated inspection solution designed for safe and efficient inspection of high-level and hard-to-reach areas. Ideal for construction, facilities management, utilities and industrial maintenance, this system enables detailed visual inspections without the need for ladders, scaffolding or specialist access equipment.
Details
- Choice of 7 inch or 10 inch touch screen monitor
- Carbon fibre telescopic pole for elevated inspections
- Records up to 4K Ultra HD video and images
- 23mm waterproof camera with wide-angle lens
- Long battery life for extended inspection tasks
Frequently asked questions
Is an 8m pole suitable for an 8m-high target?
Not automatically. The operator usually stands away from the structure and holds the pole at an angle, which reduces vertical reach. Measure the complete route and allow a controlled-use margin.
Can a telescopic camera replace roof access?
It can provide an initial surface view and help decide whether closer inspection is required. It cannot confirm structural condition or replace safe access when physical work, testing or a detailed hands-on survey is necessary.
What should the camera show first?
Capture a wide contextual view that identifies the location, then move closer to the component or defect. A logical sequence makes recorded evidence easier to understand.
Can the pole be used near overhead electricity cables?
Do not assume it is safe. Carbon fibre can conduct electricity. The site, equipment and work method require a specific electrical risk assessment, suitable clearances and appropriate controls.
Is the largest monitor always the best choice?
A larger monitor may help viewing, while portability and handling also matter. Check the exact monitor options and choose for the inspection environment, evidence requirement and operator needs.