

How a 512Hz Sonde Helps Locate a Drain Camera Underground
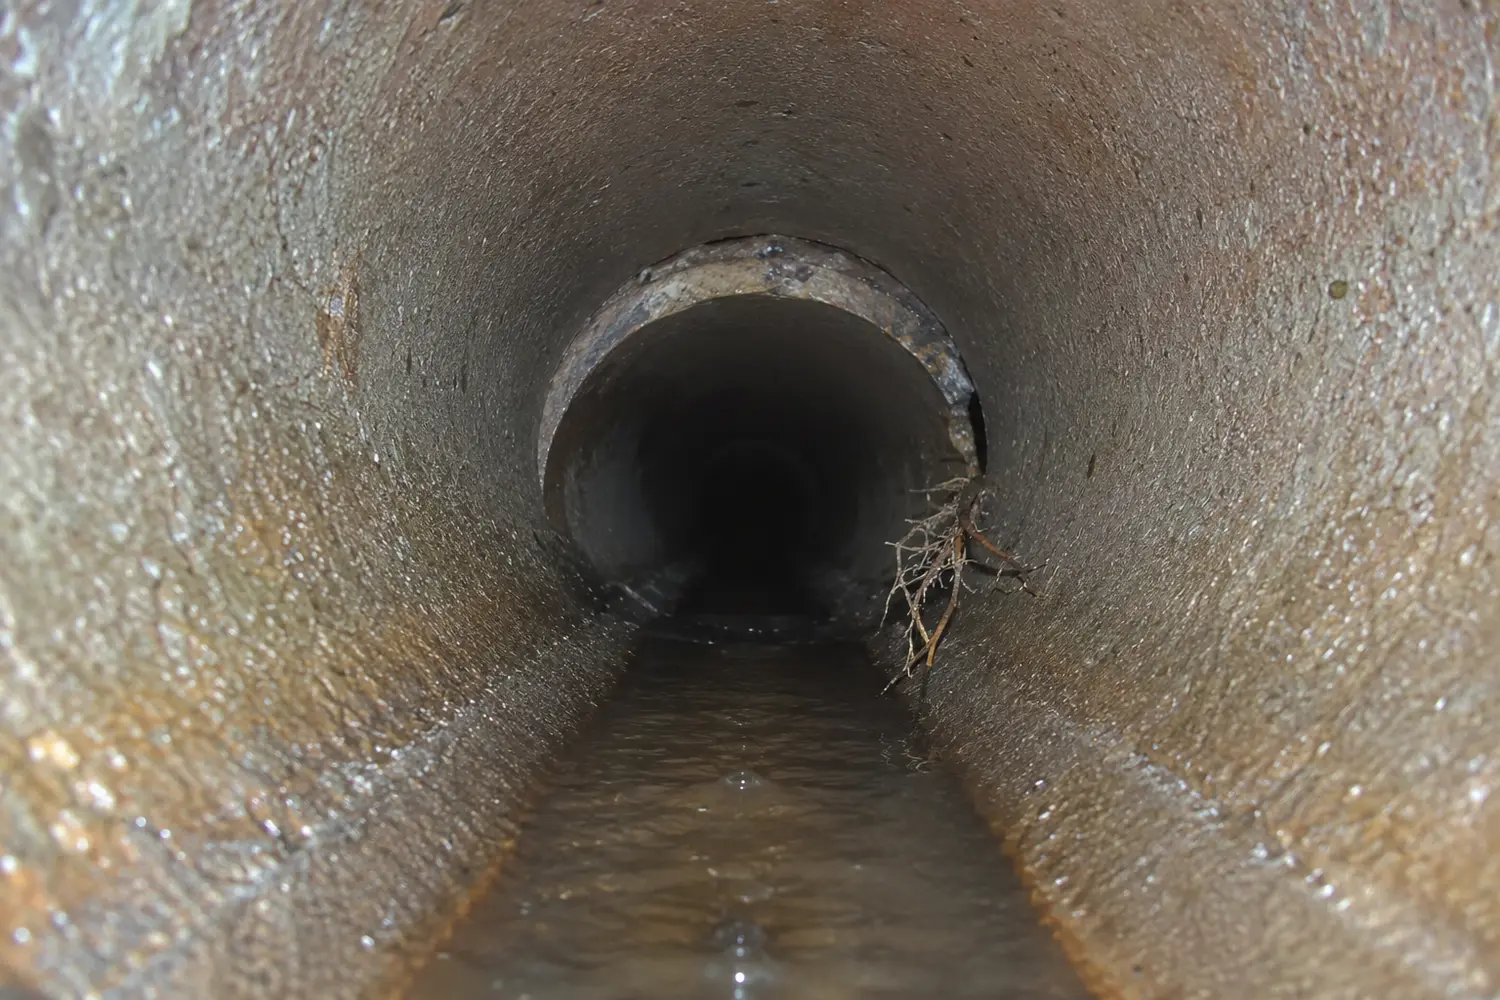
A drain inspection camera can show what is happening inside a pipe, but seeing a defect is only half the job. The next practical question is often: where is the camera head beneath the ground?
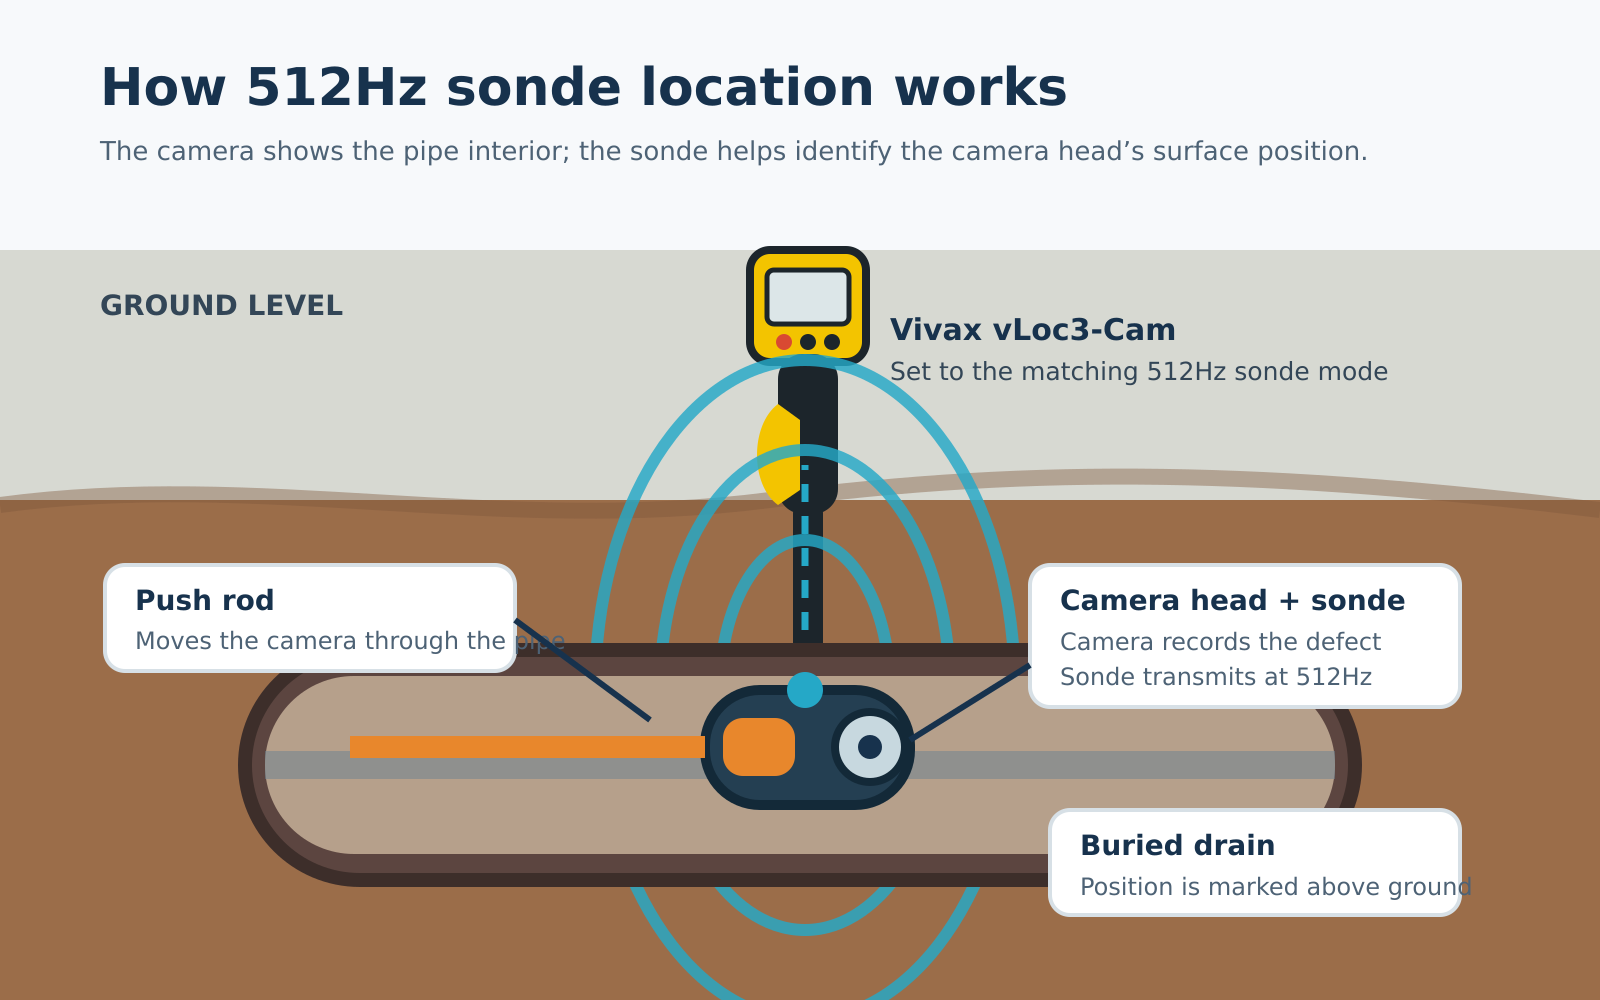
That is where a sonde and compatible locator become useful. A sonde is a small transmitter fitted into, attached to or built into inspection equipment. When a drain camera has a 512Hz sonde, an operator can use a locator set to the same frequency to detect the signal from the surface and pinpoint the camera’s approximate position.
This can help a drainage engineer connect recorded footage with a location above ground, trace the likely route of a pipe and mark an area for further investigation. It does not replace safe digging procedures, utility records or professional judgement, but it can make a drain survey considerably more actionable.
What is a 512Hz sonde?
A sonde is a compact radio-frequency transmitter. In a drain-camera system, it is normally positioned close to the camera head so that the detected signal corresponds closely with the point being viewed inside the pipe.
The “512Hz” description is the transmitter’s operating frequency. The locator at ground level must support and be set to that same sonde frequency. Manufacturer guidance from Vivax-Metrotech and Radiodetection explains that lower-frequency 512Hz and 640Hz sondes are often used for sewer-camera work and may transmit through some cast-iron pipes. Performance still depends on the sonde, receiver, depth, pipe material, ground conditions and interference.
A camera image and sonde signal answer different questions:
The camera helps identify the internal condition of the pipe.
The sonde and locator help relate the camera head to a position above ground.
A cable-length counter, where fitted, records how much push rod has been deployed; it should not be treated as a substitute for surface locating because bends and changes in pipe direction affect the relationship between deployed length and straight-line distance.
How the locating process works
The exact controls vary between systems, so operators should follow the instructions for their camera and locator. The general workflow is straightforward.
1. Confirm frequency compatibility Check that the drain camera’s sonde frequency is known and that the receiver can detect it. “Locator compatible” is not specific enough: the receiver must include the frequency used by the sonde. For this workflow, both need to support 512Hz.
2. Prove the equipment before insertion Switch on the sonde and receiver in an open area before pushing the camera into the drain. Confirm that the receiver responds at a short, known distance. This simple check helps avoid completing an inspection before discovering that a transmitter was not active, the receiver was set incorrectly or a battery was depleted.
3. Inspect the pipe and stop at the point of interest Feed the camera through the pipe while watching the footage. When the camera reaches a defect, connection or other feature that needs to be located, stop the push rod and keep the camera head stationary.
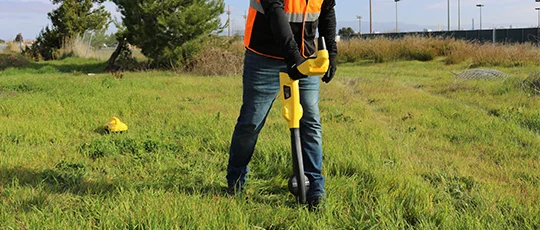
4. Search from the surface With the locator in sonde mode and set to 512Hz, sweep the likely area above the pipe. A sonde produces a three-dimensional field with a main response and secondary peaks. The operator therefore needs to identify and centre over the true signal rather than simply marking the first response detected.
5. Pinpoint and check orientation Move the receiver backwards and forwards, then side to side, to find the peak response. Rotate or orient the receiver as directed by its manufacturer. Some compatible receivers can also estimate sonde depth, but a depth figure is only meaningful after the sonde has been correctly pinpointed and the receiver is held as instructed.
6. Mark and record the result Mark the position using an appropriate temporary method and record what is visible in the camera footage. For route tracing, move the camera a short distance, locate it again and repeat. A sequence of verified points is more useful than assuming a perfectly straight line between an access chamber and the defect.
What can a sonde-equipped drain camera help you do?
Pinpoint a defect beneath the surface
If the camera identifies a displaced joint, root ingress, obstruction or damaged section, locating the stationary camera head can help mark the corresponding surface position. That information may support a more focused investigation and reduce guesswork when planning access.
Trace an unknown drain route
Plans are not always available, accurate or current. Repeatedly locating the sonde as the camera advances can help establish a series of surface points indicating the drain’s route. This is particularly useful around extensions, redeveloped commercial sites and older properties where drainage layouts have changed.
Identify connections and changes in direction Camera footage can reveal junctions, while surface locations can show how those features relate to the property or site. Combining the video, cable counter and sonde positions creates a more useful survey record than relying on any one source alone.
Communicate findings clearly
Showing a client both the recorded defect and its marked surface position makes the survey easier to understand. It also gives whoever plans the next stage a clearer starting point.
Important limitations
A sonde locator is a precision aid, not a guarantee of excavation position or depth.
Results may be affected by:
the transmitter’s signal strength and battery condition;
the depth and orientation of the camera head;
pipe material and wall thickness;
reinforced concrete, metallic covers and nearby services;
electrical noise and other sources of interference;
receiver setup, calibration and operator technique;
and site conditions above and below ground.
Low-frequency sondes can be useful in certain metallic pipes, particularly cast iron, but this should not be generalised to every metal pipe. Vivax-Metrotech notes that 512Hz or 640Hz sondes can be used in cast iron under suitable conditions, while steel and ductile iron present different limitations. Check the equipment manufacturer’s guidance for the actual application.
Most importantly, locating a sonde does not prove that the ground is clear of other buried services. Before breaking ground, follow the site’s safe system of work, review available service information, use appropriate service-locating practices and comply with applicable health and safety requirements. Treat a sonde position as one piece of survey evidence.
Choosing compatible equipment
When comparing a drain camera and locator, check the complete workflow rather than one headline feature:
Is a sonde included, optional or unavailable?
Is the operating frequency confirmed as 512Hz?
Does the intended locator include a matching sonde mode?
Is the transmitter close enough to the camera head for the required task?
Can the camera record clear footage and, if required, on-screen notes?
Is a cable-length counter needed for the survey record?
Are camera diameter, skid size and push-rod characteristics suitable for the pipes being inspected?
Is product training or setup support available?
UK Inspection Camera supplies drain inspection systems with different camera heads, push-rod lengths, recording functions and locating options. The right combination depends on pipe size, access, survey distance, expected depth and how the evidence will be used. If compatibility is uncertain, speak to the team before ordering rather than assuming that two products using the word “locator” will work together.